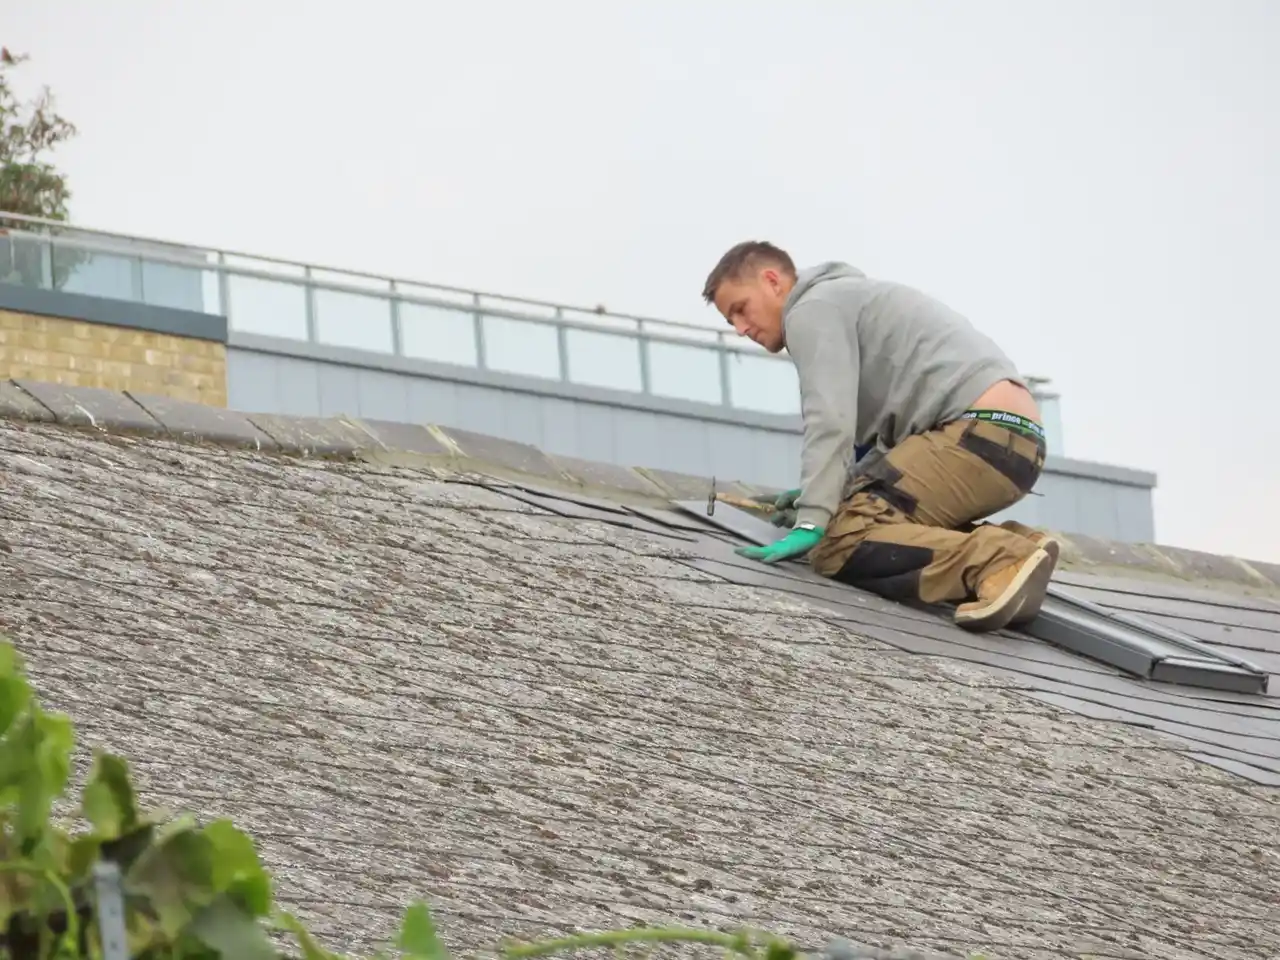
How to repair a tile roof leak without breaking tiles
A practical San Marino guide to finding and fixing tile roof leaks without cracking tiles - tools, steps, costs, and when to call a pro.

You can repair a tile roof leak without breaking tiles by lifting the tiles instead of prying them, replacing the failed underlayment or flashing underneath, and resetting the same tiles with new fasteners. The trick is knowing where the water is actually getting in - on clay and concrete tile roofs in San Marino, the leak is almost never the tile itself. It is the underlayment, a valley flashing, a vent boot, or a cracked mortar joint that has finally given up after 20-plus years of Texas sun.
This guide walks you through how to repair a tile roof leak without breaking tiles in San Marino, Texas - the tools that let you lift tiles cleanly, the step-by-step process, 2026 cost ranges, and the point where a DIY job stops making sense. If you would rather hand it off, our team handles Tile Roof Leak Repair in San Marino, Texas every week and we can usually tell you what is wrong from the ground.
Why tile roofs leak even when the tiles look fine
Tile roofs leak because the tiles are a rain screen, not the waterproof layer - the actual waterproofing is the underlayment beneath them, and that felt or synthetic membrane has a service life of roughly 20 to 30 years before it turns brittle and tears. A tile can sit perfectly flat and still pass water through a hairline crack at the headlap, around a nail hole, or at a valley where the metal has rusted through.
In San Marino and the surrounding Bexar County neighborhoods, we see three failure patterns over and over:
- Underlayment fatigue. Original 30-pound felt from the 1990s and early 2000s has dried out and cracked. Water tracks along the felt until it finds a nail hole, then drips onto the deck.
- Flashing failures. Step flashing at sidewalls, chimney flashing, and valley metal corrode or pull loose. A 1/8-inch gap at a chimney counter-flashing will send water straight into the attic during a two-inch rain.
- Fastener and mortar breakdown. Nails back out of batten strips, and the mortar at ridge and hip tiles crumbles after 15 to 20 years, letting wind-driven rain under the field tiles.
That is why a tile roof leak repair near me in San Marino almost always starts with a proper leak detection pass - not with grabbing a tube of caulk and hitting the wet spot on the ceiling.
Tools and materials you need to lift tiles safely
Lifting a tile without cracking it comes down to spreading the load across the tile body instead of prying at one edge. Clay and concrete tiles are strong in compression and weak in bending, so any tool that concentrates force on a single point will snap them.
Here is the short list we keep on the truck for tile work:
- A tile hook or slate ripper - a flat, wide blade that slides under the tile and lifts it evenly.
- A pry bar with a 2-inch-wide blade, not a flat bar. Wide blade, low pressure.
- Roof jacks or a tile stand-off so you are not standing on the field tiles. Foot traffic breaks more tiles than tools do.
- Replacement underlayment - we use a synthetic 40-mil membrane rated for 25 to 30 years.
- Flashing material: 26-gauge galvanized step flashing, or copper if the original was copper.
- Stainless steel ring-shank nails, 1-1/4 to 1-1/2 inch, and a magnetized hammer.
- Polyurethane sealant rated for roofing - not silicone, not the $4 tube from the hardware store.
If you are not comfortable walking a 6/12 pitch, stop here. A fall off a two-story San Marino home is a much bigger bill than the repair.
Step-by-step: how to repair a tile roof leak without breaking tiles in San Marino TX
Work from the top of the roof down and from the leak source back to the stain. Water almost never drips straight down - it runs along the deck, so the entry point is usually 3 to 10 feet uphill from the ceiling stain.
1. Find the actual entry point
Get in the attic during or right after a rain with a flashlight. Look for water streaks on the rafters, rusted nail tips, and dark staining on the decking. Mark the spot with chalk, then go up top and look 5 to 10 feet uphill from that mark. Nine times out of ten, the leak is at a penetration - a vent pipe, a chimney, a valley, or a sidewall.
2. Set up so you are not standing on the tiles
Use roof jacks with 2x8 planks, or a ladder stand-off that keeps your weight on the fascia and wall, not the field. If you must step on the roof, walk on the headlap (the thick overlap) with soft-soled shoes, and never step on a hip or ridge tile.
3. Lift the tile, do not pry it
Slide the tile hook under the lower edge of the tile, about 2 inches in from the corner. Lift straight up with steady pressure - no jerking. If the tile is bedded in mortar at the headlap, tap the headlap gently with a rubber mallet to break the bond before lifting. Set each lifted tile in a safe stack on the ridge, not on the slope where it can slide.
4. Fix what is actually broken
With the tile out of the way, you can see the real problem. Replace torn underlayment with a piece that overlaps 6 inches uphill and 4 inches on each side. If the flashing is the culprit, pull the old step flashing, slide new pieces in, and seal the laps with polyurethane. For a failed vent boot, cut the old boot off the pipe and slide a new neoprene or silicone boot down over it.
5. Reset the tile and fasten it properly
Set the tile back in its original position, checking that the headlap is at least 3 inches. Fasten with two stainless ring-shank nails driven through the pre-existing holes if possible - new holes in old tile are where cracks start. If the original hole is oversized, use a slightly larger nail or a dab of polyurethane in the hole before driving.
6. Test before you close up
Run a hose on the roof above the repair for 10 to 15 minutes while someone watches the attic. If it stays dry, you are done. If not, you missed a second entry point - and there usually is one.
If the leak is coming from a valley, a chimney, or a skylight rather than the field tiles, the repair is a different job. We handle Valley Leak Repair in San Marino, Texas and chimney flashing work with the same lift-and-reset approach, and we pressure-test every repair before we pack up.
Common mistakes that crack tiles and void repairs
The single biggest mistake is prying a tile from the corner with a flat bar. That concentrates all the force on one point, and clay tile snaps clean. The second biggest is walking the field tiles in work boots - a 200-pound tech on a 3/12 pitch will crack tiles you never even felt break.
Other mistakes we see on DIY tile roof leak repair for San Marino homeowners:
- Caulking the tile instead of the underlayment. Sealant on the tile surface does nothing. Water is getting in underneath.
- Using silicone or asphalt cement on tile. Both fail within 12 to 18 months in Texas heat. Polyurethane only.
- Reusing bent or rusted nails. They will back out within a season.
- Ignoring the second leak. Tile roofs rarely leak in just one spot after 20 years. If you find one failed boot, check the other three.
- Not replacing the underlayment while the tile is up. If you have the tile lifted, replace the felt under it. Doing it twice costs double.
One more: never pressure-wash a tile roof to find a leak. You will blast the mortar out of the hips and ridges and create three new leaks.
How much does tile roof leak repair cost in San Marino TX?
Typical 2026 pricing in this area runs $350 to $900 for a single-point tile roof leak repair, $1,200 to $2,800 when the repair involves lifting a 10x10 section to replace underlayment, and $3,500 and up if the leak has rotted decking or a valley has to be rebuilt. Emergency after-hours calls add $150 to $400.
What drives the number:
- Access. A two-story roof with a steep pitch takes longer and needs more safety gear.
- Tile type. Standard concrete tile is easy to source. Imported clay or antique tile may need to be salvaged and reused, which is slower.
- Extent of damage. A single boot replacement is a 1-hour job. Rotted sheathing under a valley is a half-day.
- Whether the underlayment is replaced. Lifting tiles and putting them back over failed felt is a temporary fix. Replacing the felt is the permanent one.
If you want a real number, we do free leak assessments across San Marino and can usually give you a firm price the same day. Our Roof Leak Inspection in San Marino, Texas includes an attic check, a roof walk, and a written scope with photos.
When to call a professional for a tile roof leak in San Marino
Call a pro when the leak is at a valley, chimney, skylight, or sidewall, when the roof is steeper than 6/12, when more than 5 tiles are already cracked, or when you cannot find the entry point after two rain events. Those are the jobs where DIY turns into a $4,000 repair.
We also get called when a homeowner has already tried the caulk-and-pray approach and the stain is still growing. That is a sign the water is coming in somewhere else entirely - usually 8 to 10 feet uphill from where they were looking.
Roof Leak repairer San Antonio works tile roofs across San Marino and the greater San Antonio area. We lift tiles with tile hooks, replace the underlayment and flashing underneath, and reset the original tiles whenever they are salvageable. If a tile does break, we match it from our salvage stock or source a replacement - you do not get a patch of mismatched tiles on your roof.
If you would rather not get on the roof at all, our Roof Leak Detection in San Marino, Texas uses moisture meters and a hose test to pinpoint the entry point before we lift a single tile.
Frequently Asked Questions
How do I repair a tile roof leak without breaking tiles in San Marino?
Lift the tile with a wide-blade tile hook instead of prying it, fix the underlayment or flashing underneath, then reset the same tile with stainless ring-shank nails. Stay off the field tiles - use roof jacks. Most breaks happen from foot traffic, not tools.
Can I fix a tile roof leak myself in San Marino Texas?
Yes, if the leak is at a simple penetration like a vent boot and your roof is under 6/12 pitch. If it is at a valley, chimney, or skylight, or you cannot find the entry point, call a pro. Those repairs need flashing work that is easy to get wrong.
How much does tile roof leak repair cost in San Marino TX?
In 2026, expect $350 to $900 for a single-point repair, $1,200 to $2,800 for a section lift with new underlayment, and $3,500 and up if decking or a valley is damaged. Emergency calls add $150 to $400.
What causes tile roof leaks in San Marino?
Failed underlayment after 20 to 30 years, corroded or loose flashing at valleys and chimneys, cracked mortar at hips and ridges, and backed-out nails. The tile itself is rarely the cause - it is the waterproofing layer beneath it.
How long does a tile roof leak repair take?
A single vent boot or flashing repair takes 1 to 2 hours. A section lift with underlayment replacement runs 4 to 6 hours. Full valley rebuilds can take a full day, especially if decking has to be replaced.
Get help with Roof Leak Repair in San Marino
If your ceiling stain is growing and you would rather not risk a cracked tile or a fall, we can be on your roof this week. Call Roof Leak repairer San Antonio at 210-939-5773 and we will find the leak, fix it, and test it before we leave.